# 重要说明
FizzGate该功能现阶段仅对商业用户开放。
# FizzGate聚合模块
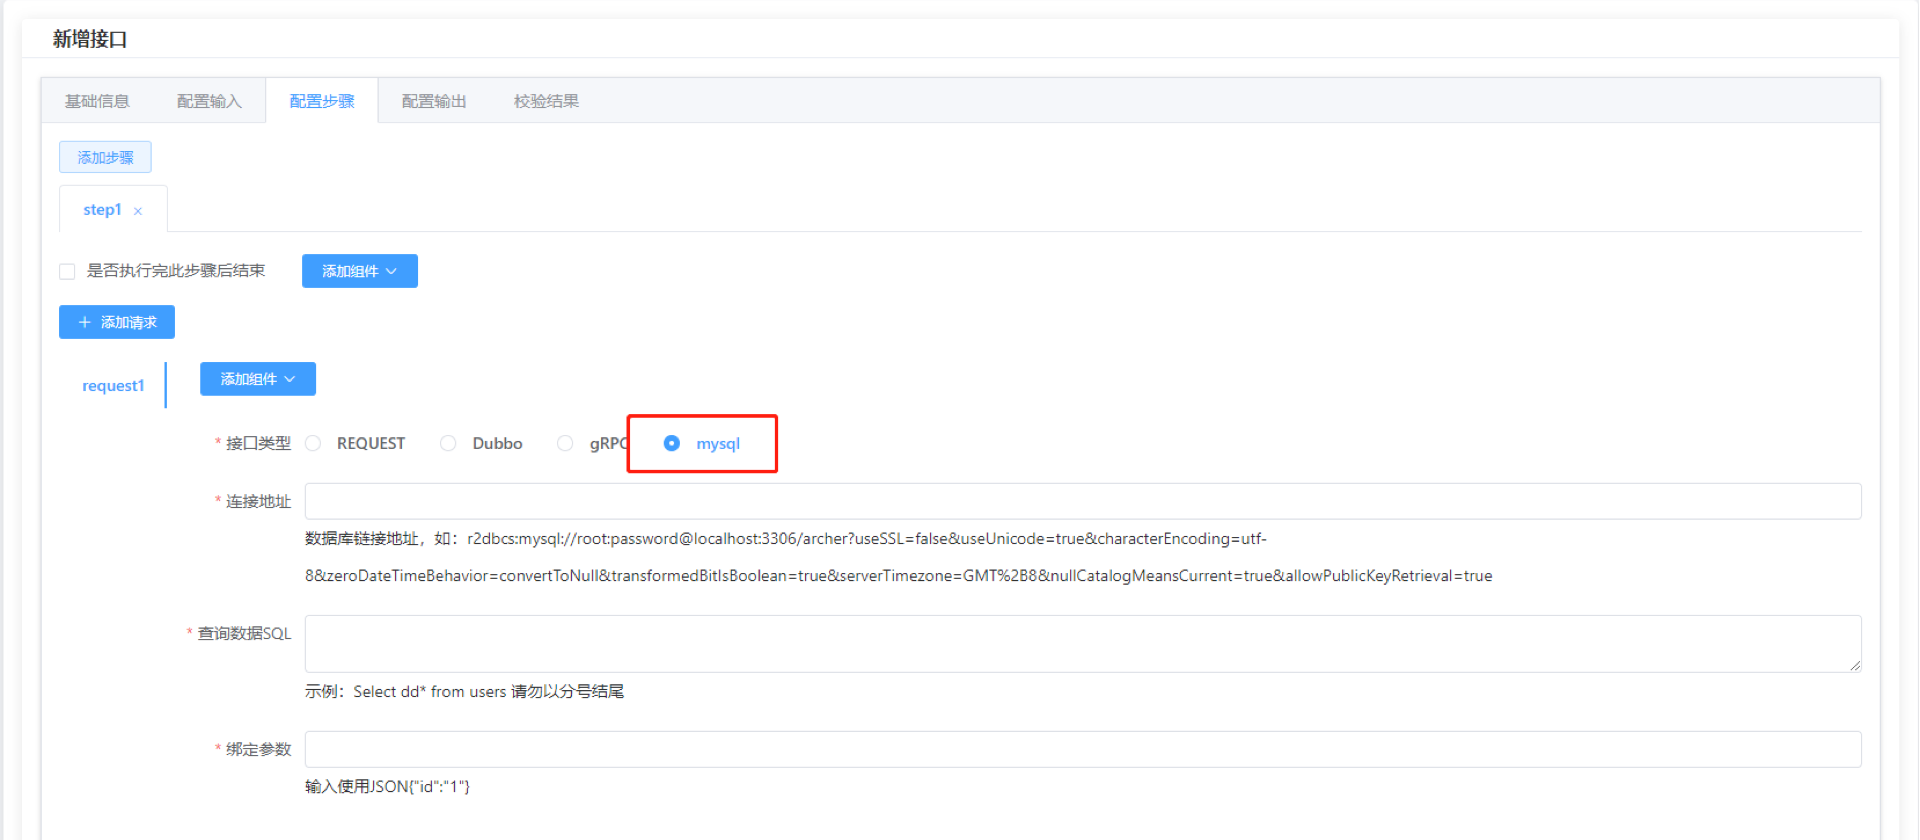
FizzGate能够支持扩展聚合编辑器的功能。在现阶段原生官方支持的聚合类型中仅有的REQUEST,Dubbo,gRPC三种RPC请求方式。但FizzGate能够支持的包含但不仅限于RPC,虽然聚合模块设计的时候我们更多考虑RPC请求聚合以避免过多的业务逻辑进入聚合模块影响性能,但如果想要支持更多数据聚合类型,FizzGate现阶段也提供对应的解决方案。
# 扩展方法
FizzGate聚合编辑器配置之后的配置文件的分发流程为:编辑器——》管理端存储——》缓存——》节点,编辑器负责配置文件的编辑,中间管理端负责配置文件的存储和节点分发,最终节点负责识别解析配置文件。所以我们需要修改包含两部分: 1、增加后台编辑器中聚合类型的支持; 2、增加节点中聚合代码对于新增类型的支持;
# 编辑器支持
# 前端开发步骤
1、主应用安装 qiankun 依赖
yarn add qiankun
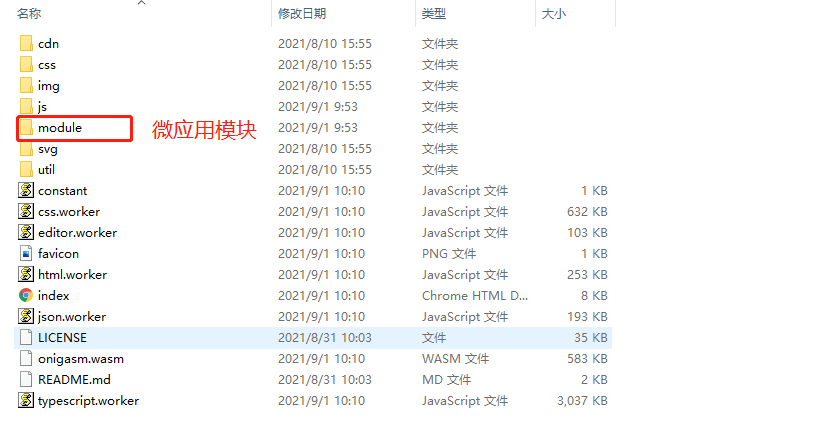
2、进入目录module,使用vue-cli生成vue项目(mysql),并安装 qiankun 依赖
cd module
vue create mysql
yarn add qiankun
3、编写mysql微前端模块。
(1)src 目录下新建一个 public-path.js 文件
if (window.__POWERED_BY_QIANKUN__) {
  __webpack_public_path__ = window.__INJECTED_PUBLIC_PATH_BY_QIANKUN__;
}
(2)src/main.js 文件顶部引入 public-path.js 文件,并导出qiankun相应生命周期函数
import './public-path';
/**
 * bootstrap 只会在微应用初始化的时候调用一次,通常我们可以在这里做一些全局变量的初始化
 */
 export async function bootstrap() {
  console.log('vue app bootstraped');
}
/**
 * 应用每次进入都会调用 mount 方法,通常我们在这里触发应用的渲染方法
 */
export async function mount(props) {
  window.globalProps = props;
  render(props);
}
/**
 * 应用每次 切出/卸载 会调用的方法,通常在这里我们会卸载微应用的应用实例
 */
export async function unmount() {
  // install.$destroy();
}
/**
 * 可选生命周期钩子,仅使用 loadMicroApp 方式加载微应用时生效
 */
 export async function update(props) {
  console.log('update props', props);
}
(3)vue.config.js 配置修改。设置publicPath前缀为"/module/mysql",devServer设置为允许跨域,ouput配置把微应用打包成 umd 库格式
const packageName = require('./package.json').name;

module.exports = {
  //路径前缀
  publicPath: "/module/mysql",
  outputDir: "mysql",
  lintOnSave: true,
  productionSourceMap: false,
  configureWebpack: {
     output: {
          library: `${packageName}`,
          libraryTarget: 'umd'
     }
  },
  devServer: {
    port: 1890,
    headers: {
      "Access-Control-Allow-Origin": "*"
    }
  }
};
4、mysql 微模块的路由,需设置为 abstract 模式,并且修改路由基路径。
const router = new VueRouter({
  mode: "abstract",
  // base: "/",
  base: window.__POWERED_BY_QIANKUN__ ? '/' : '/module/mysql/',
  routes
})
5、编写mysql组件
<template>
    <el-form :rules="rules"  size="small"
            label-width="110px" :model="requestForm">
        <el-form-item label="连接地址" prop="URL" key="URL">
                <el-input v-model="requestForm.URL" clearable></el-input>
                <span class="key-tips">数据库链接地址,如:r2dbcs:mysql://root:password@localhost:3306/archer?useSSL=false&useUnicode=true&characterEncoding=utf-8&zeroDateTimeBehavior=convertToNull&transformedBitIsBoolean=true&serverTimezone=GMT%2B8&nullCatalogMeansCurrent=true&allowPublicKeyRetrieval=true</span>
        </el-form-item>
        <el-form-item label="查询数据SQL" prop="sql" key="sql">
                <el-input type="textarea" v-model="requestForm.sql" clearable></el-input>
                <span class="key-tips">示例:Select dd* from users 请勿以分号结尾</span>
        </el-form-item>
        <el-form-item label="绑定参数" prop="binds" key="binds">
                <el-input v-model="requestForm.binds" clearable></el-input>
                <span class="key-tips">输入使用JSON{"id":"1"}</span>
        </el-form-item>
    </el-form>
</template>
<script>
export default {
    name: 'mysqlItem',
    data() {
      return {
        rules: {
          URL: [
            { required: true, message: 'URL是必填', trigger: 'change' }
          ],
          sql: [
            { required: true, message: '必填', trigger: 'change' },
          ],
          binds: [
            { required: true, message: '必填', trigger: 'change' }
          ]
        },
        requestForm: {
            URL:"",
            sql:"",
            binds:""
        }
      }
    },
    created(){
        if (window.globalProps)
            this.requestForm = window.globalProps.requestForm;
    }
}
</script>
5、配置微应用模块的访问信息
(1)接下来需要让FizzGate管理后台能够加载该模块,找到FizzGate后台中 constant.js 文件。这里以示例项目为例,在 aggregate.plugins 下进行 mysql 配置,为其配置唯一的name值,以及访问入口地址 entry 。
(2)部署时候,建议将模块打包文件放在根目录的module文件夹下。以示例项目为例,生产环境的访问地址为: /module/mysql/index.html
var Constant = (function(){
    return {
        aggregate:{
            plugins:{
                mysql:{
                    "name" : "mysqlItem",
                    "entry": NODE_ENV === 'development' ? "//localhost:1890/module/mysql/" : '/module/mysql/index.html'
                }
            }
        }
    }
})();
# 前端项目启动
1、fizz主后台管理系统,建议使用 nginx 启动;微模块在开发时候,使用 yarn run serve 直接启动便可。
2、nginx 配置
(1)在 nginx/html 下,新建一个文件夹 fizzAdmin 放置前端静态资源文件

(2)nginx 配置修改:在 nginx/config/nginx.conf 文件下,增加以下配置
server {
    listen 9000;
    server_name localhost;
    location / {
        root html/fizzAdmin;
    }
    location ^~ /api {
        rewrite ^/api/(.*) /$1 break;
        proxy_pass https://demo.fizzgate.com;
    }
}
(3)启动nginx。点击nginx应用程序图标,或者使用命令行启动nginx
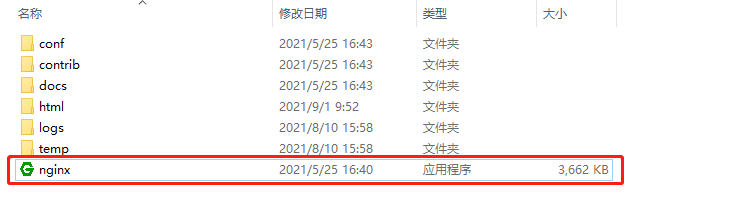
(4)启动后,可通过浏览器进行访问: http://localhost:9000/
3、修改文件 constant.js 中的entry配置。 由于主应用已在nginx部署,NODE_ENV 一直为 production,所以需手动设置 entry 值为 ://localhost:1890/module/mysql/
var Constant = (function(){
    return {
        aggregate:{
            plugins:{
                mysql:{
                    "name" : "mysqlItem",
                    "entry": "//localhost:1890/module/mysql/"
                    // "entry": NODE_ENV === 'development' ? "//localhost:1890/module/mysql/" : '/module/mysql/index.html'
                }
            }
        }
    }
})();
4、启动 mysql 微前端项目,位置: /module/mysql
(1)依赖安装
yarn
(2)项目运行
yarn run serve
(3)运行成功,可从fizz后台管理系统进行访问, 也可单独访问(http://localhost:1890/module/mysql/)
# 前端项目部署
1、建议主应用和微前端模块部署在同一个服务器上,并且微模块的资源文件放在同级的module文件夹里
2、修改 constant.js 的entry配置
var Constant = (function(){
    return {
        aggregate:{
            plugins:{
                mysql:{
                    "name" : "mysqlItem",
                    "entry": NODE_ENV === 'development' ? "//localhost:1890/module/mysql/" : '/module/mysql/index.html'
                }
            }
        }
    }
})();
# 说明
调试模式可以启动serve,FizzGate管理后台能够根据配置加载对应路径的Web Component
# 节点支持
# 节点开发步骤
1、在合适的位置注册Input
InputFactory.registerInput(MySQLInput.TYPE, MySQLInput.class);
2、编写MySQLInput.java
public class MySQLInput extends Input implements IInput {
    static public InputType TYPE = new InputType("MYSQL");
    public static Class inputConfigClass (){
        return MySQLInputConfig.class;
    }
    public void beforeRun(InputContext context){

    }
    public Mono<Map> run(){
        // items 是根据数据库读取之后的结果处理
        Map<String, Object> result = new HashMap<String, Object>();
        result.put("data", items);
        result.put("request", this);
        return Mono.just(result);
    }
}
3、编写配置MySQLInputConfig.java
public class MySQLInputConfig extends InputConfig {

	public MySQLInputConfig(Map configBody) {
		super(configBody);
	}
    // 在这里解析前端传递过来的配置
	public void parse(){
    }
}